
soliver - 19-11-2013 at 07:03 PM
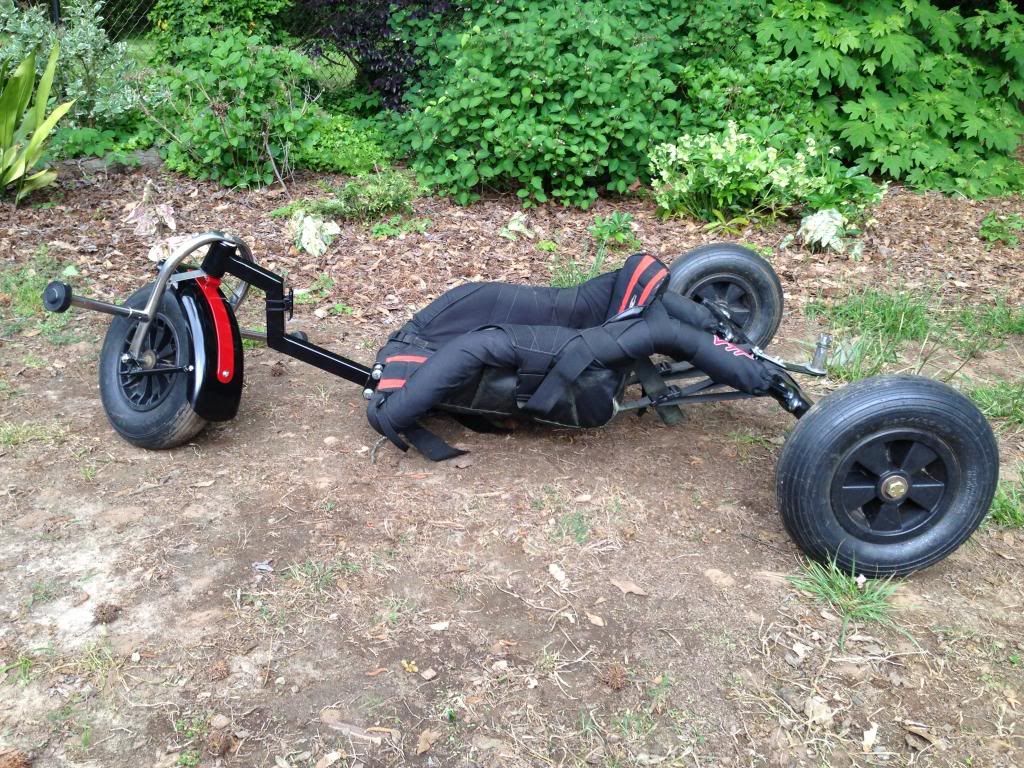
So after all the times I've been out in my VTT Stinger-XR Hybrid buggy where I end up bottoming out and getting stuck on a hump in the field, I've
decided its time to make some changes. The buggy consists of parts that Van sold me to make a tandem with. After assembling them, I liked it more than
my XR, so I made it into my buggy and made the XR into the tandem. It is the original Stinger rails, a modified Cricket back axle, a home brew
downtube, and the front fork from the XR. This was the state of my Bug before I started and as you can see its a good solid ride, and good and low for
that low Center of Gravity (COG):
And here is what I want to change:
Wider back axle; existing axle is only 40" wide, I'd prefer 48".
Ride height is too low.
The downtube functions in getting the ride height down, but it's too low and it kinda looks goofy.
So with that, I plan to rebuild the back axle typical to Van's buggies (ie, Stinger and Black Widow) and the downtube and in the process of design I
will raise the ride height.
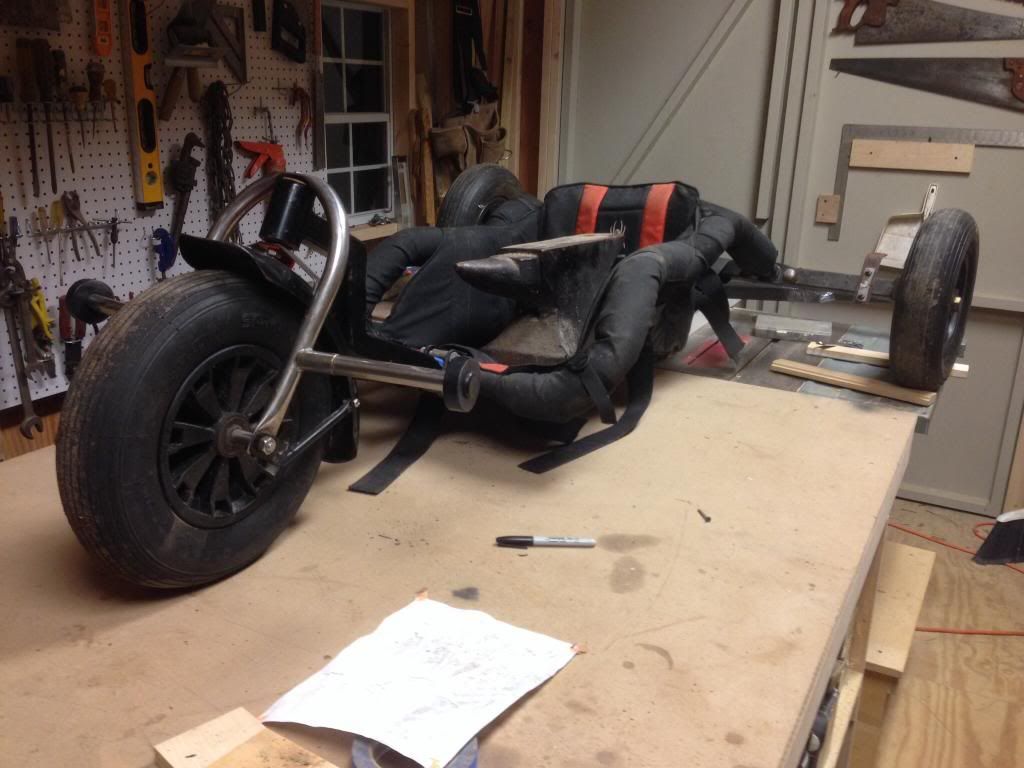
My process started with setting up the buggy exactly how I like it to take some measurements and figure some things out. So with that I planted the
buggy on the work table in my shop with a weight in the seat to simulate my fat hiney... Yes, that is an anvil in the seat of my buggy (placed on a
piece of plywood to spread the load):
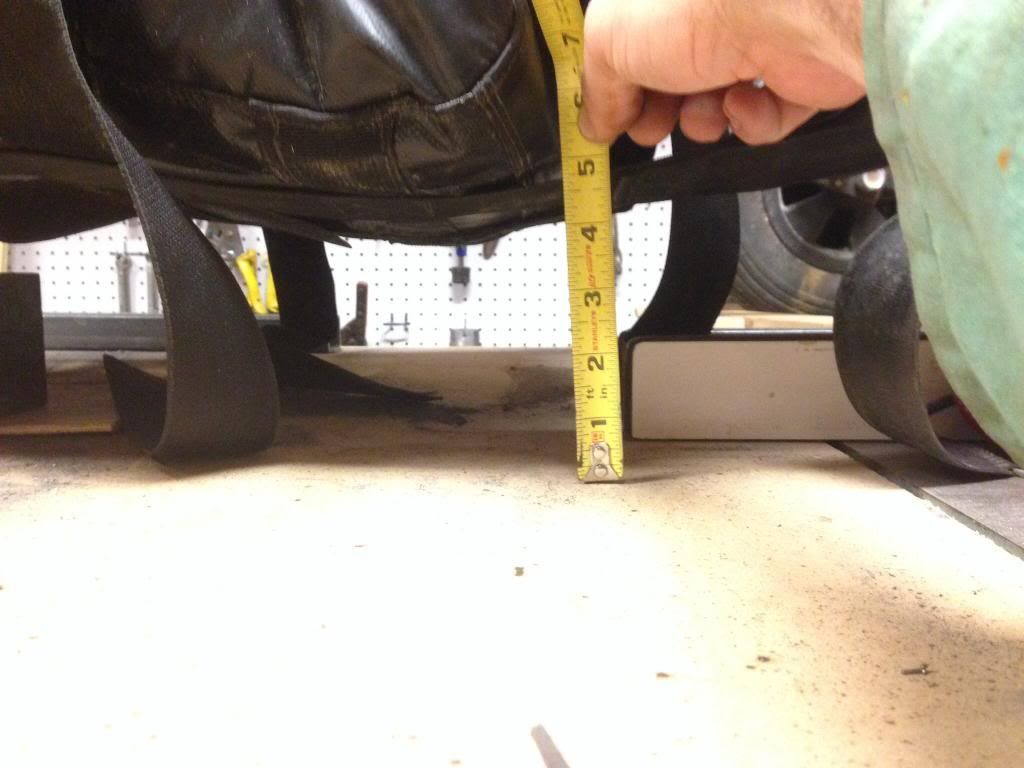
The way I plan to rebuild the down tube will significantly reduce the adjustability of it in the clamp, so I thoroughly measured the downtube and
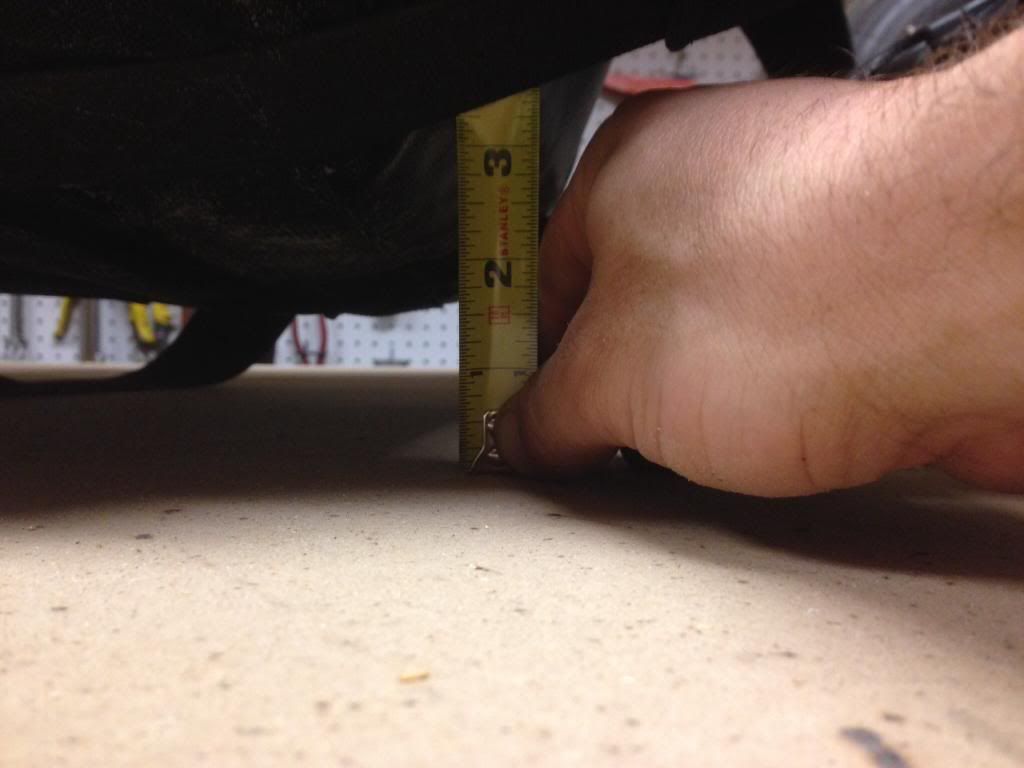
front fork in relation to the clamp and side rails with it at a comfortable position, and I also measured the height of the bottom of the seat to the
ground. Initially when I designed the original downtube, I assumed that the clamp would be the lowest point to the ground, but have found that is not
the case. Though it looks less, the seat height is roughly 2 to 2 1/2" from the ground, I thought it was higher... No wonder I was bottoming out:
I knew i would have to build and set the axle to help me figure out some of the angles for the downtube. So I set out to build the back axle like the
typical Stinger or Black Widow knowing that the bolt brackets would raise the back end above the axle. I ordered (from the awesomest metal supplier
around, Metal Supermarket) a 12" piece of 3/8 x 1 1/2" flat bar and a 48" piece of 1 1/2" square tube(if you have a Metal Supermarket local to you,
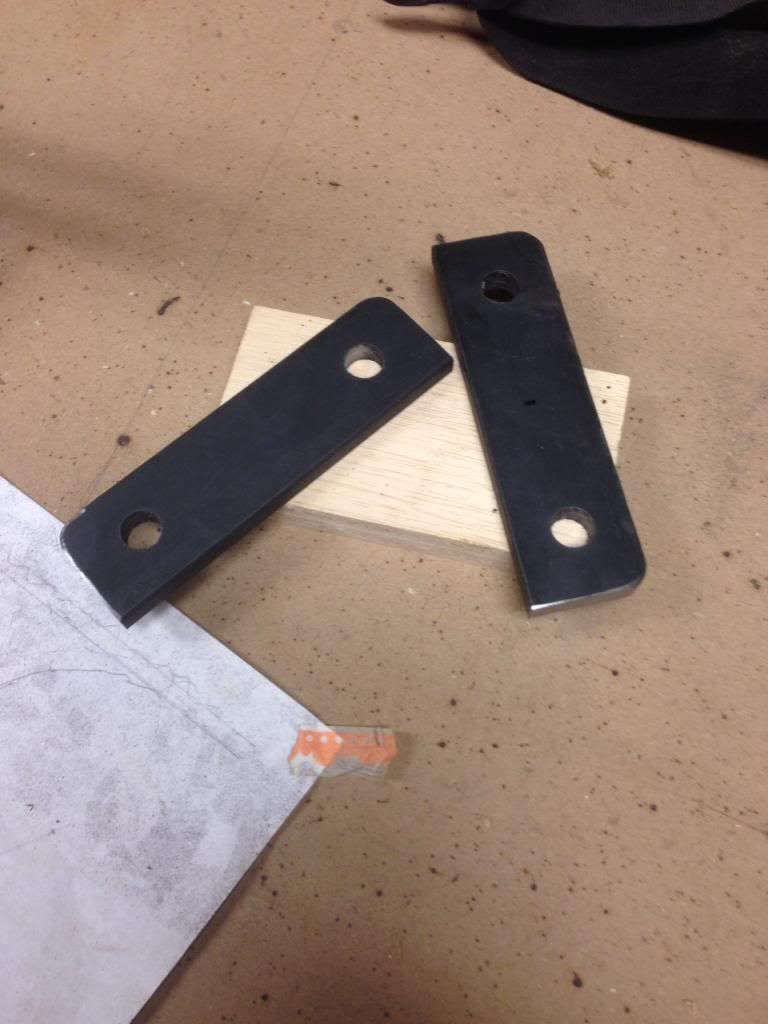
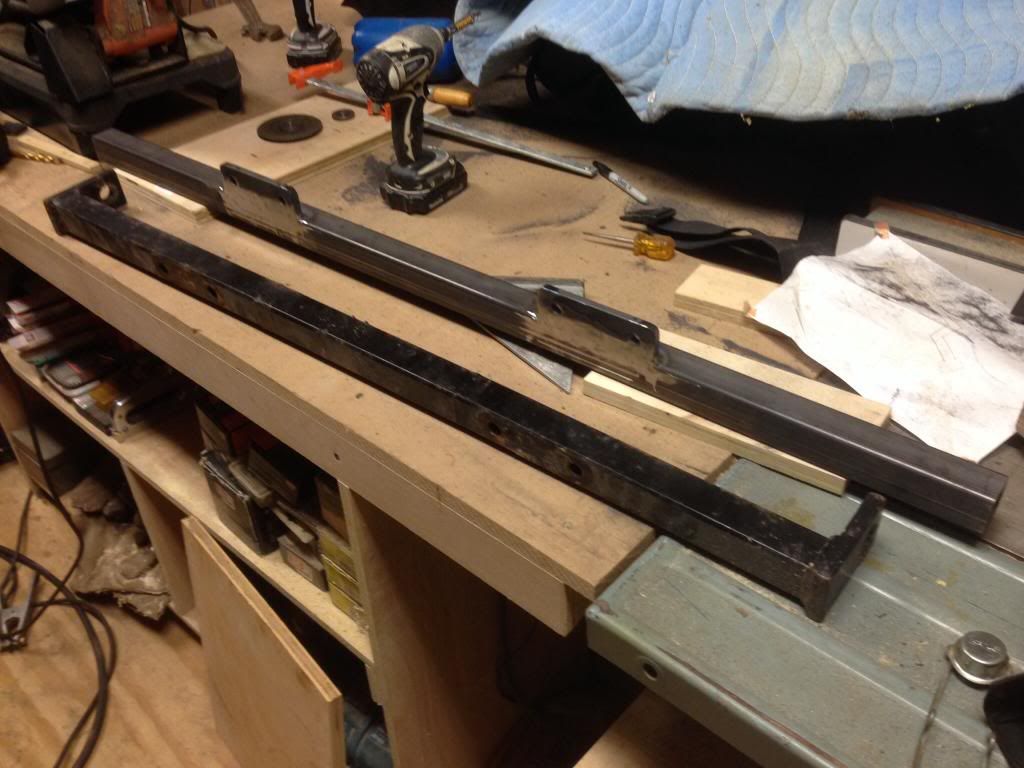
use them, they will cut ANY metal stock exactly to your specifications). I drilled and cut the flat bar to match the ends of the side rails and welded
them to the square tube. Here is a pic of my new bolt brackets and a side by side of the old and new back axles:
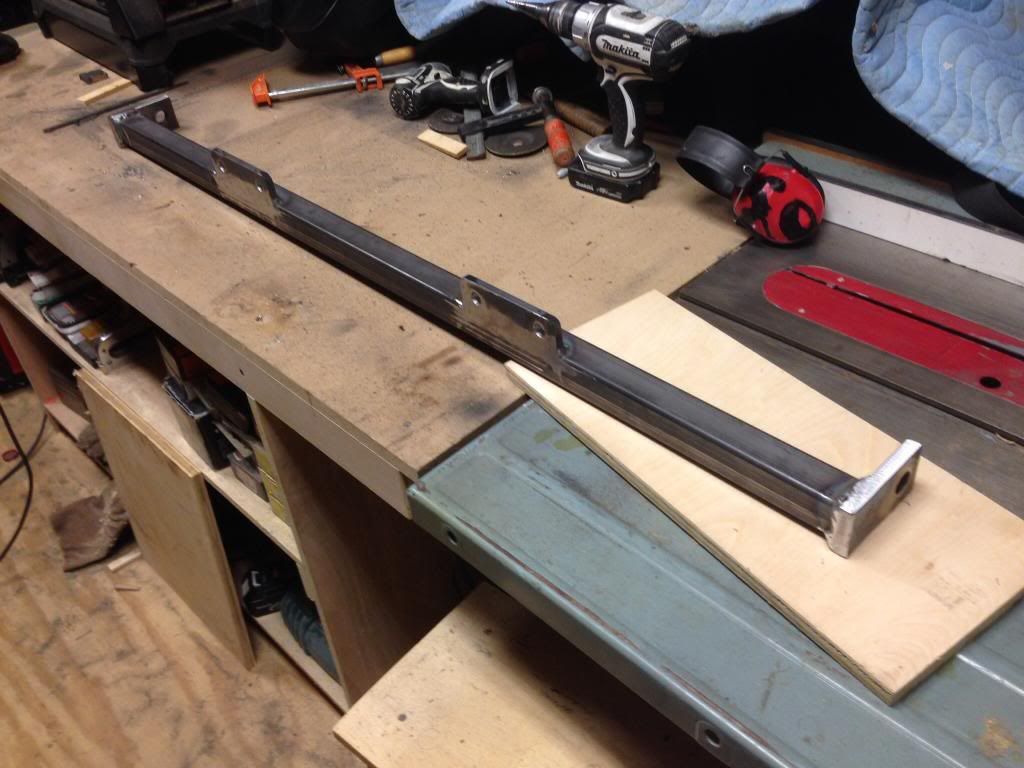
From there, I cut the 1/2" flat bar ends off of the old axle for the wheel mounts and welded them to the new axle:
I then temporarily mounted the new axle and wheels to the rails and began to take and check my measurements:
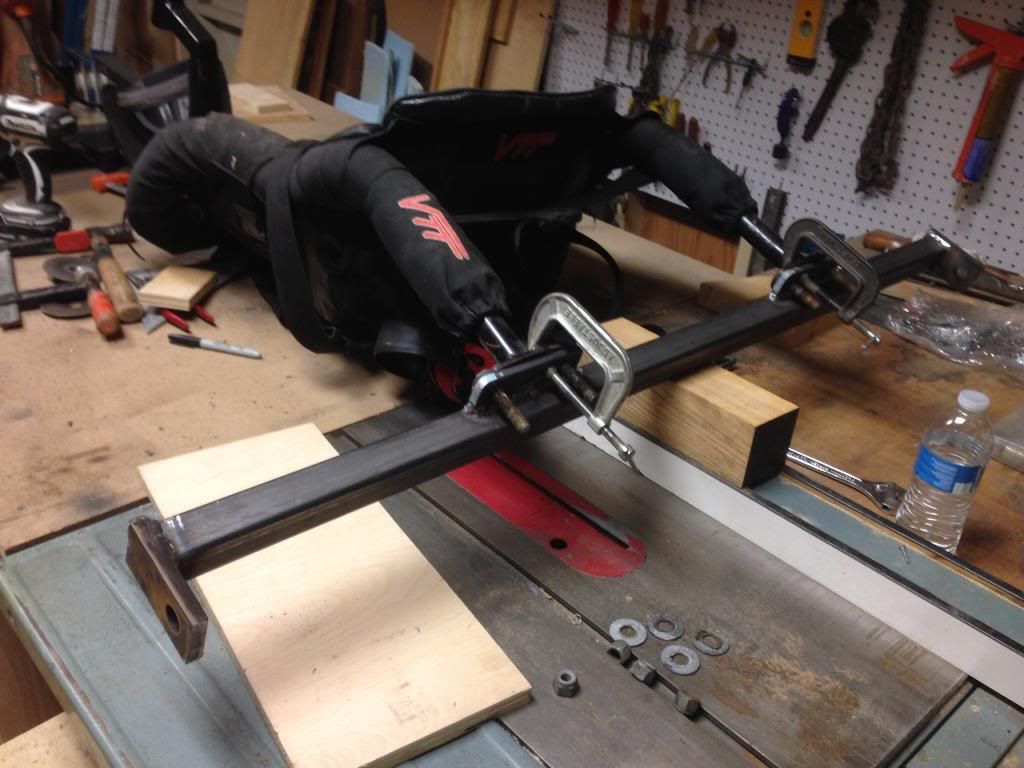
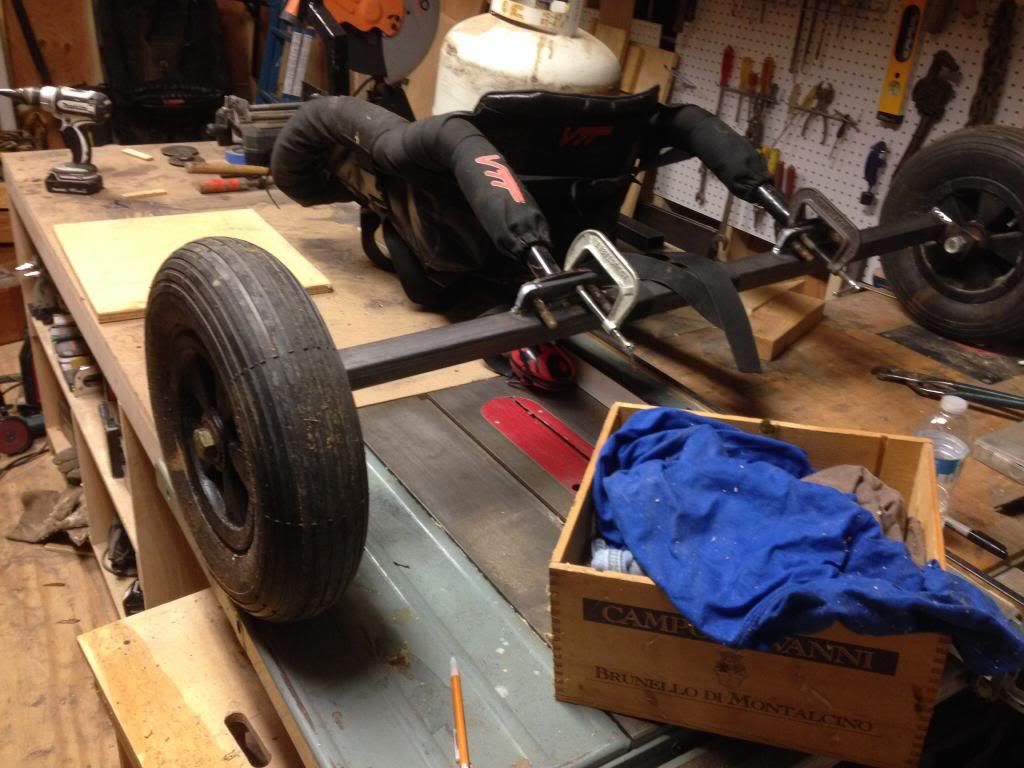
I set the clamp on a 4" high block and with a weight in the seat, (propane tank this time... Anvil was too heavy to want to pick up again  ) and it looks like the bottom of the seat is 4 - 4 1/2" off the ground. SUCCESS!!!
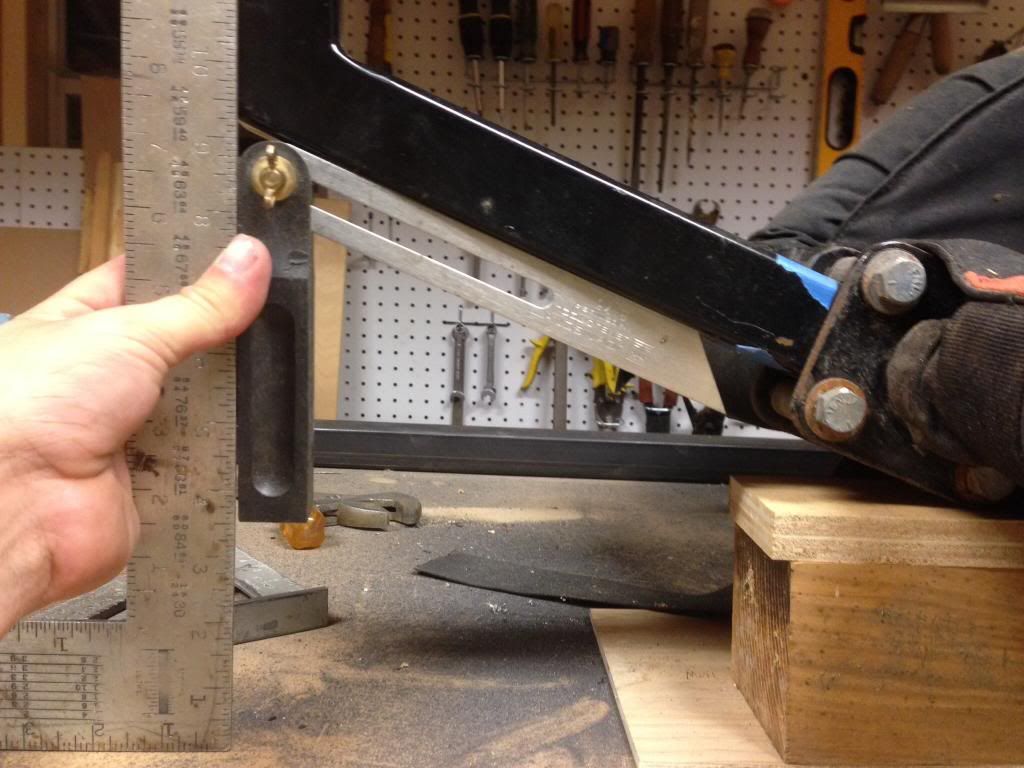
From here I can use the old downtube in the clamp to help find angles in order to design a new downtube:
I'm planning on designing and working on the downtube tonight and finishing up in the next few days... Maybe I'll be done by the weekend... WOOT WOOT!
I will share as I progress in the process.
BigMikesKites - 19-11-2013 at 08:18 PM
Very Nice!
MeatÐriver - 19-11-2013 at 09:17 PM
Right on man. It's only a 2"lift, but may as well be a mile given how low it was before. Sand Flea's was about that low until he nearly managed to
take some washed up drift wood in his bottom side. I imagine any increase in CG would be next to unnoticeable, if at all.
Nfish - 19-11-2013 at 09:22 PM
Very nice! I really need to get off my butt and get myself a bigfoot front fork, and maybe a new down tube as well. It motivates me when I see someone
else's work.
soliver - 19-11-2013 at 09:28 PM
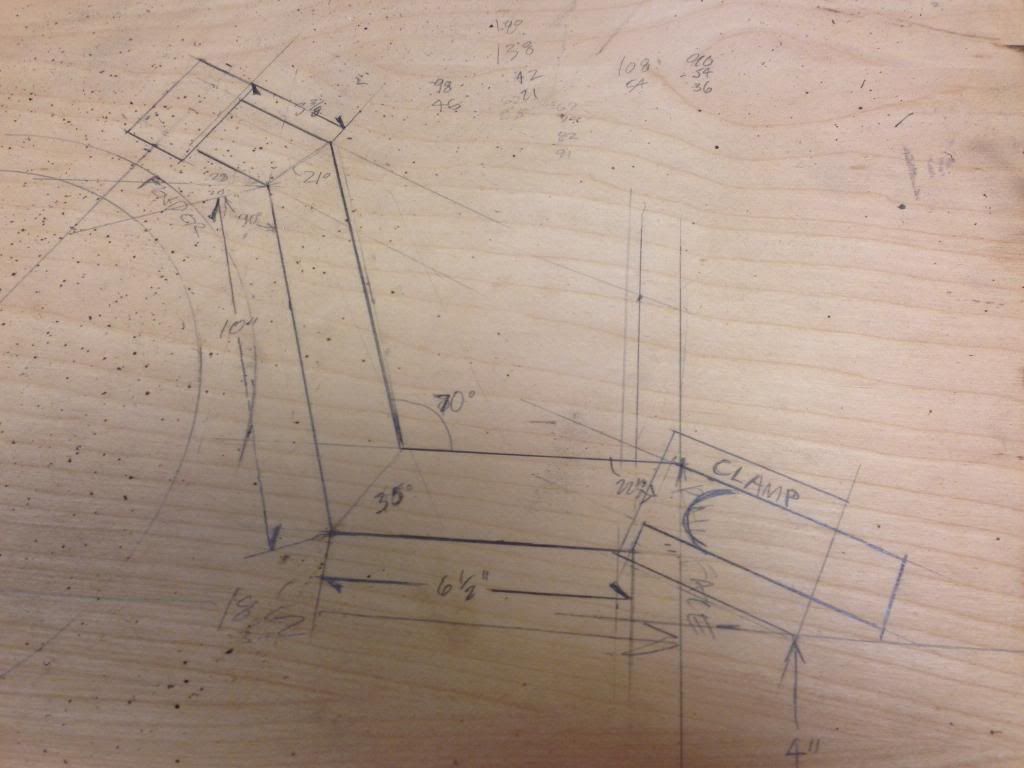
Just got back in from the shop. I had limited time, but I was able to finalize the design for the downtube:
And cut the bulk of the pieces:
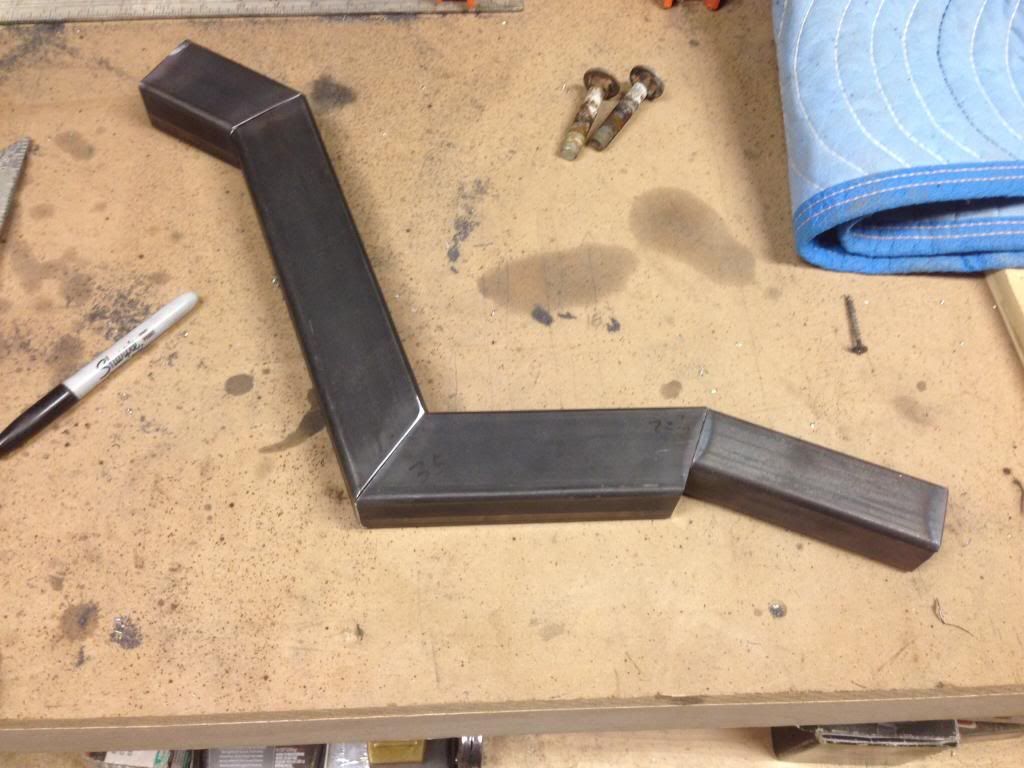
I'll be using the piece I made previously for connecting the front fork. I just have to cut it off the old downtube.
It's worth saying here that yes this is a little strange, but when I bought the rails from Van, he offered to put a clamp on the front to make it
interchangeable with Peter Lynn Buggy parts so that I had more options in making it a tandem etc. that said, in hindsight, I should have had him leave
it as it was,... But hey, we're making it work.
soliver - 21-11-2013 at 10:37 AM
So last night I went out to the shop and was out there WAY too late and am uber tired today for it, but on the bright side, I got all of the
fabrication done and am only lacking paint (and a few new nuts and bolts).
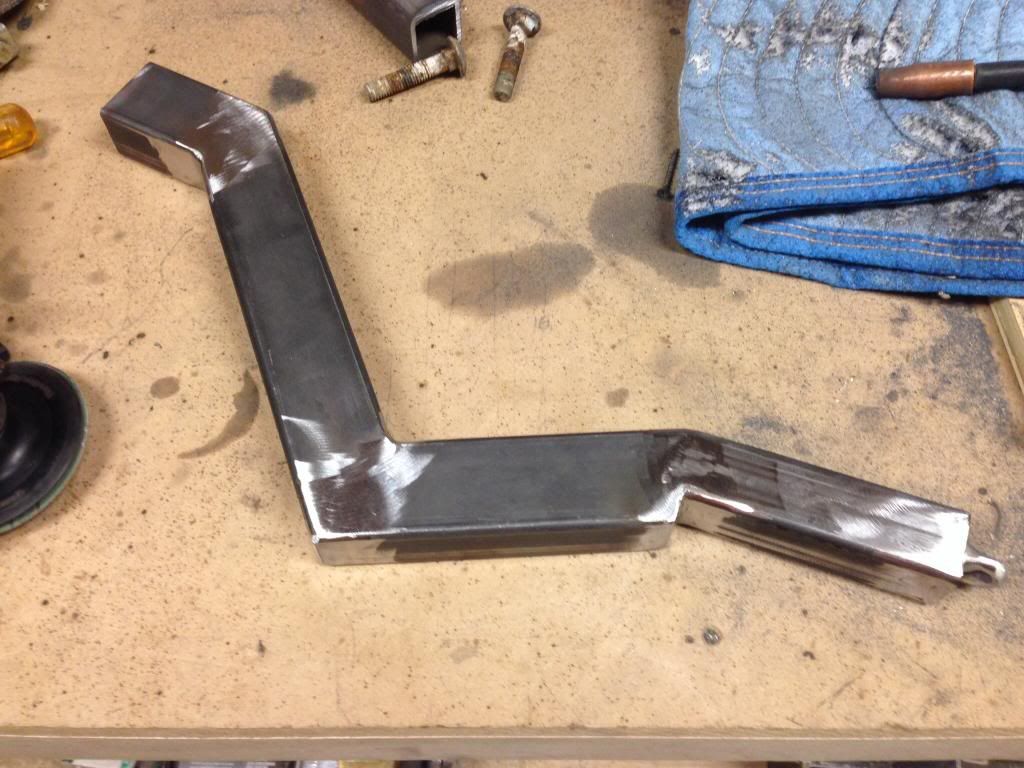
First I welded up all the parts of the new downtube:
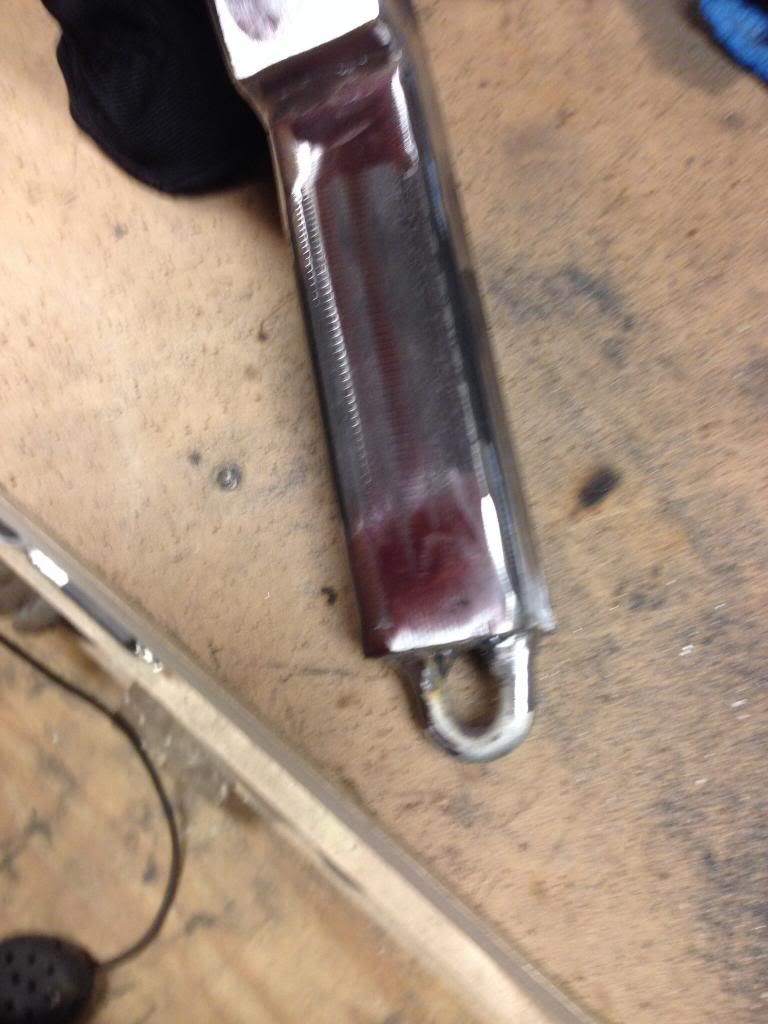
I made sure to add a small 1/2 link of chain to the tail of the downtube to run the strap for my harness's auto quick release through (thanks Jeff via
Big Kid Kites).
And then I cut off the headstock (connection from downtube to front fork) from the old downtube and welded it on to the new set up. Though it was
late, I couldn't help but put the new parts on the bug to get a look at it all together,... Though, I neglected to recheck my measurements with it all
in place.
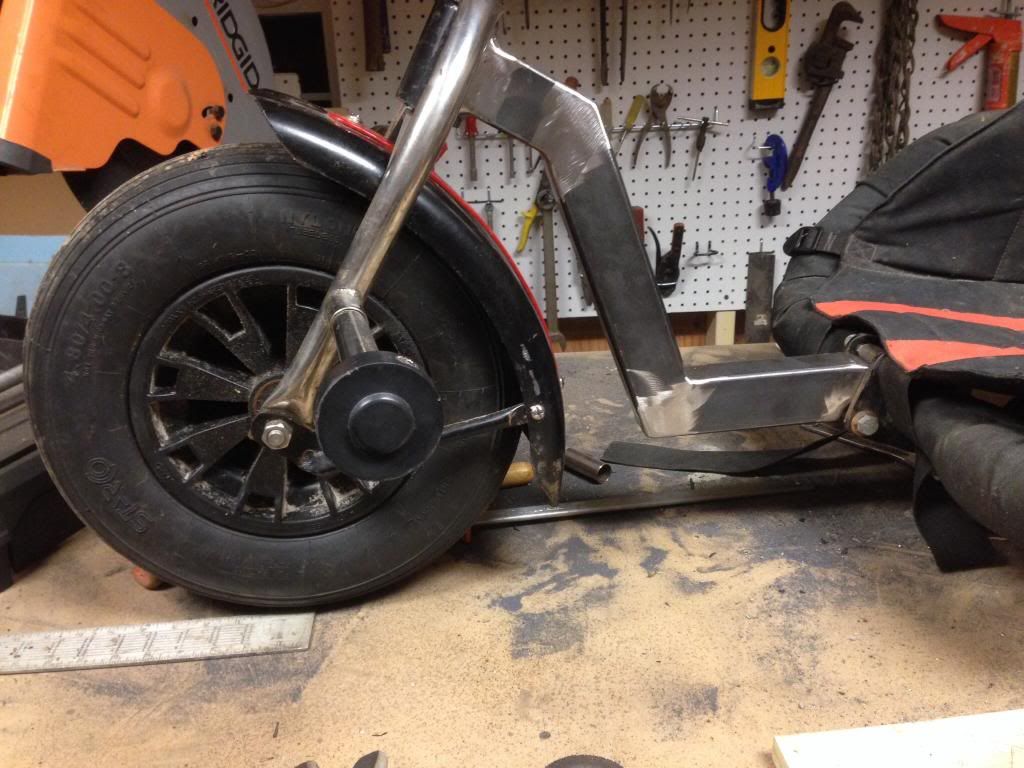
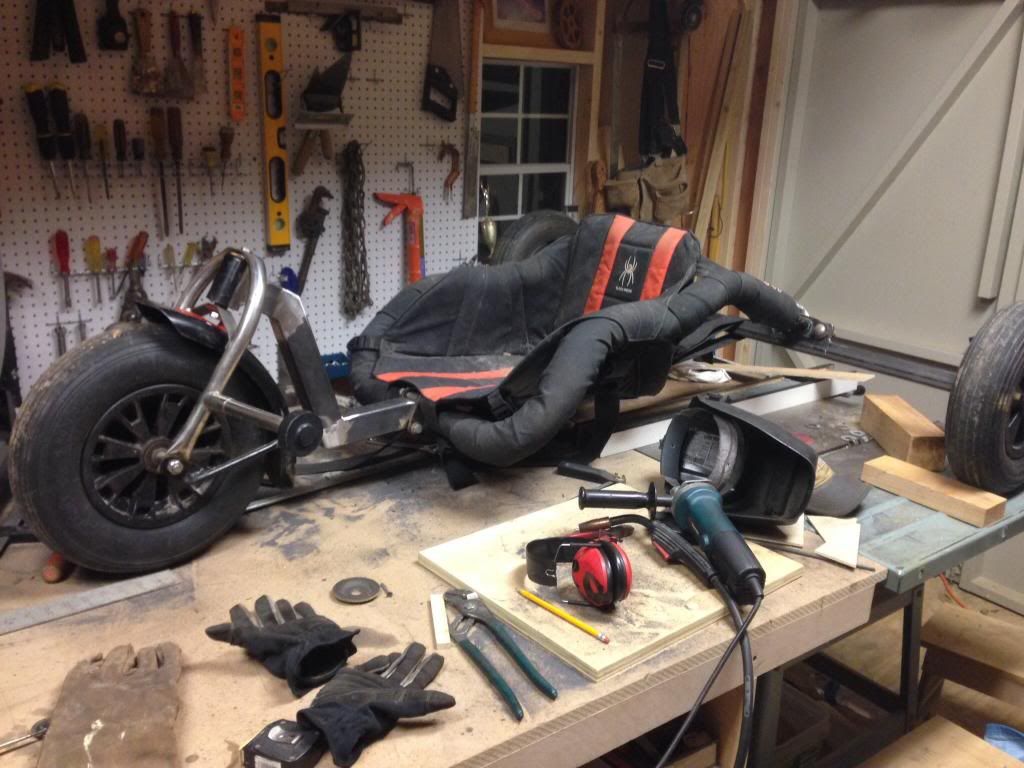
I can't help but say I am very pleased with how this is all turning out,... Time to bring out the rattle-cans and paint him up!!!
cheezycheese - 21-11-2013 at 11:37 AM
Nice !! Looks aggressive.... :evil:
rtz - 21-11-2013 at 03:01 PM
That new downtube looks proper and has a nice shape to it. I like it.
soliver - 23-11-2013 at 05:37 PM
Finishing up...
I spent all of Thursday night in the shop painting the new back axle and downtube, as well as cleaning up and re painting the fender. Between coats of
primer and paint, on the other side of the shop I was removing the bearings from all the wheels and cleaning and lubing them. I work in facilities
maintenance, so I have easy access to all kinds of lubricants which we use on HVAC equipment. I borrowed from work a spray lube which is an
aerosolized grease called Invisilube. It sprays like any other spray lube and is thin and viscous, but as it sits, it sort of coagulates into a more
typical grease.
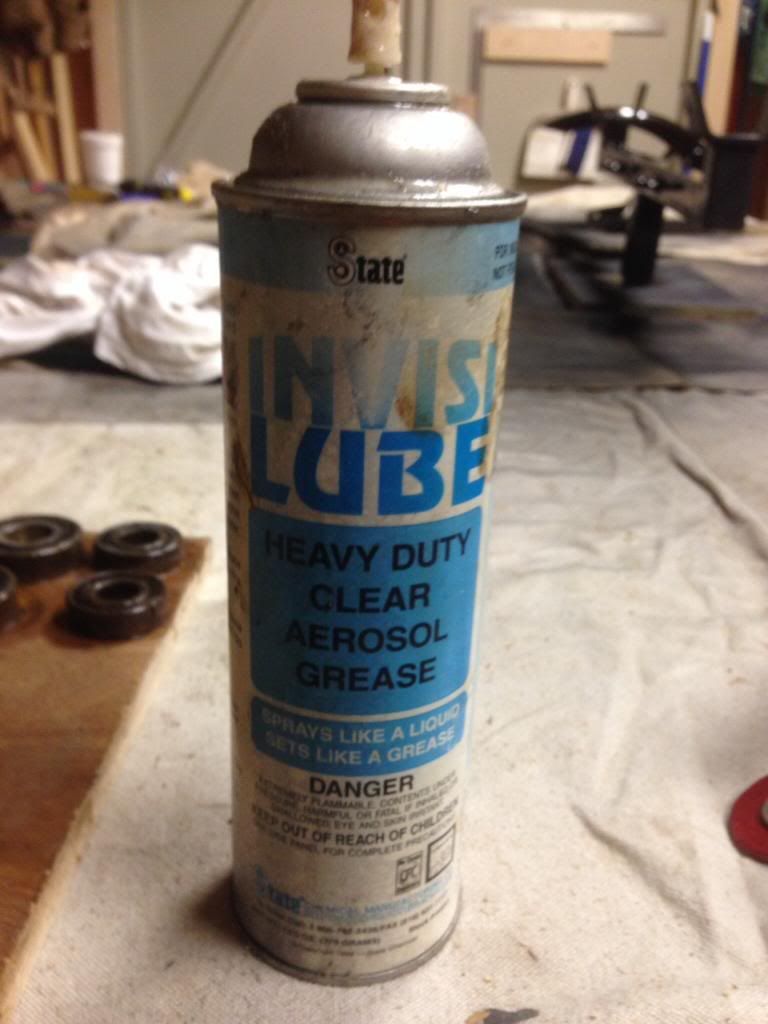
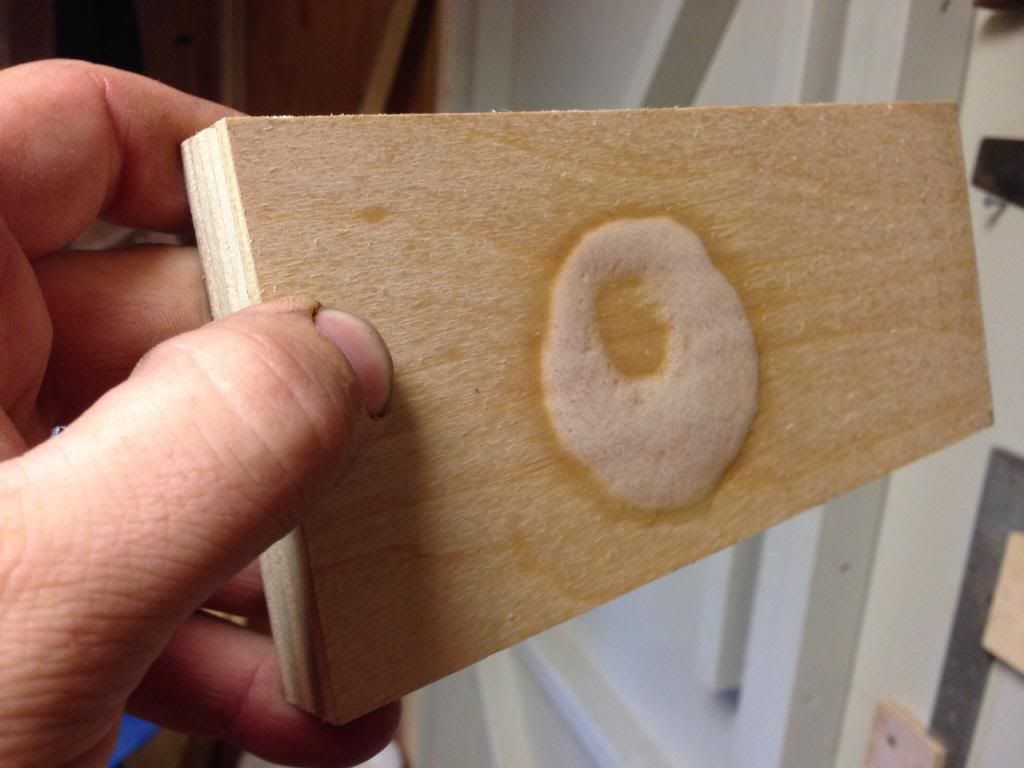
I sprayed the Invisilube on the board about 20 minutes prior to taking this pic, and as you can see it has "firmed up" enough that I can hold the
board up vertical without it running. I hosed down both sides of each of my bearings with the lube let it work in and let them sit overnight (while
the paint dried). As I installed them, I can tell it really breathed new life into my bearings. This is the best they have moved since they were new
(to me). While I know new bearings aren't expensive, they are an expense which I chose not to take and doing this makes it unnecessary. I really
brought the stuff home just to try, and am really impressed so far. It seems like a great product, so try it out.
Next night I went to the assembly, and as you can see, it turned out quite nice:
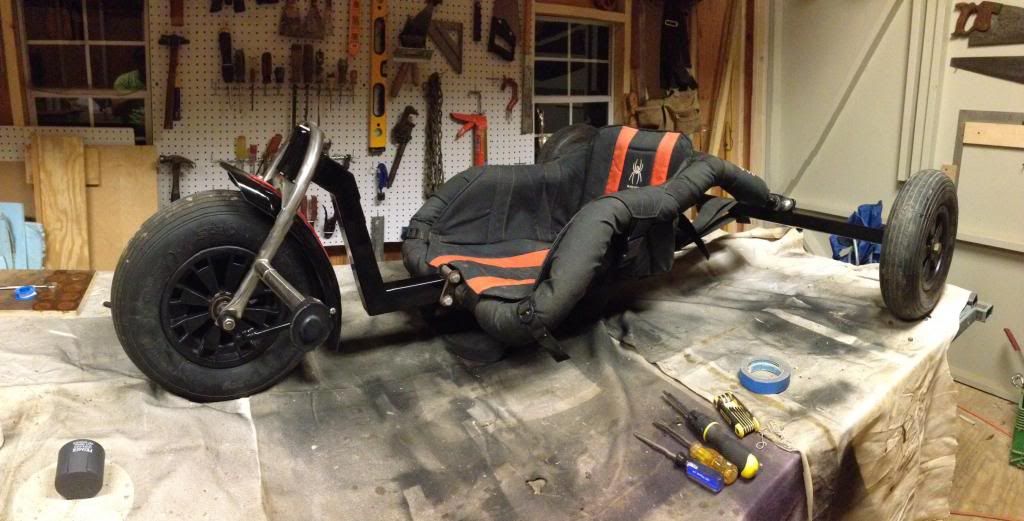
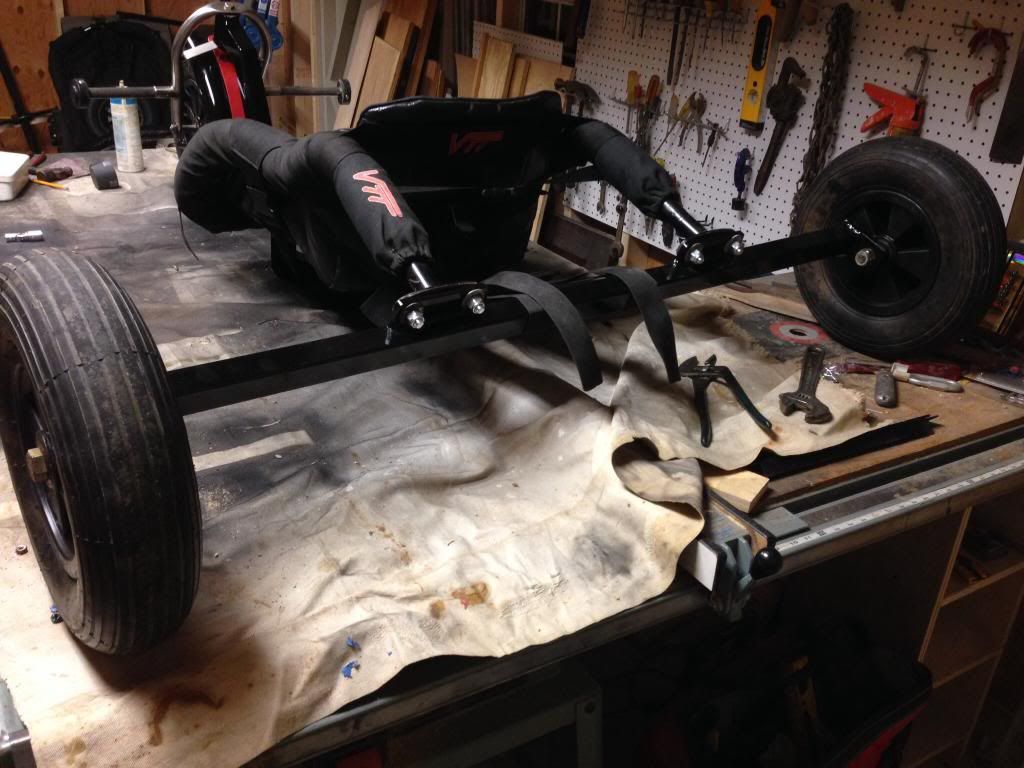
And here, so we can see a side by side comparison:
BEFORE:
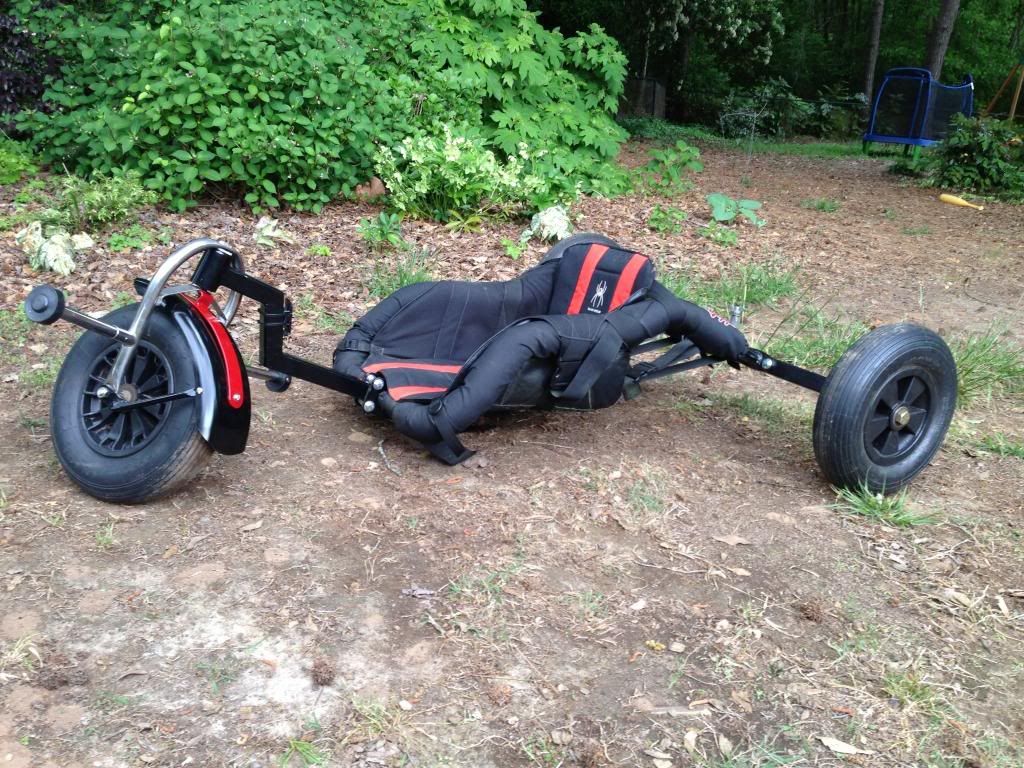
And AFTER:


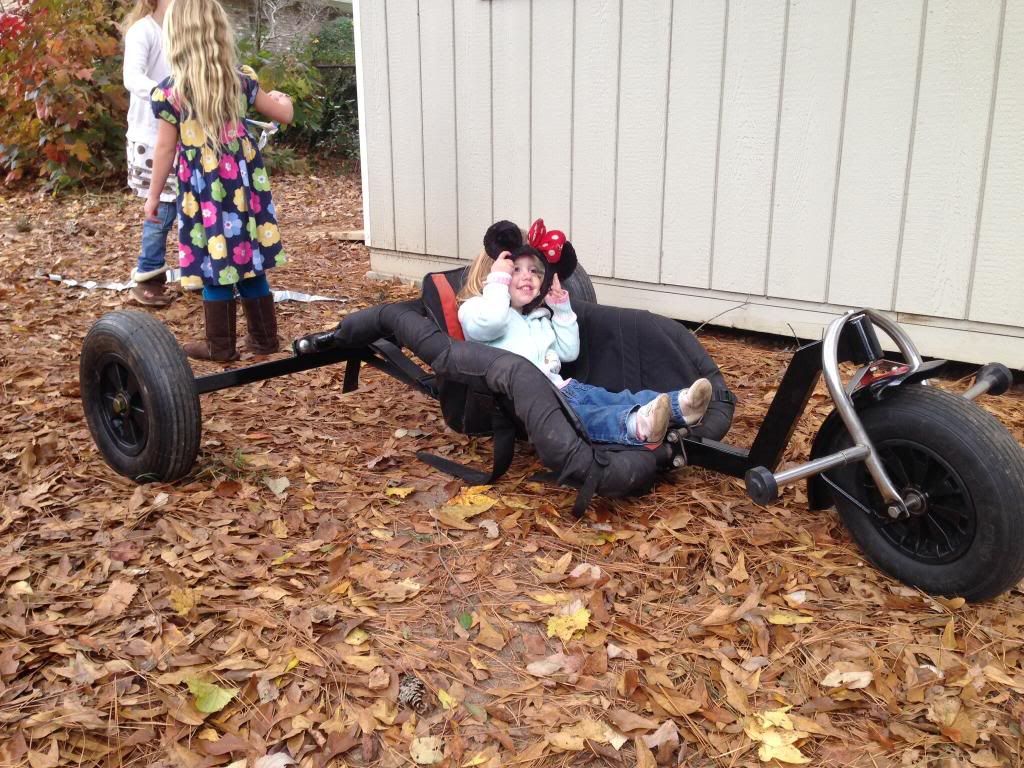
It appears also as though the natives approve
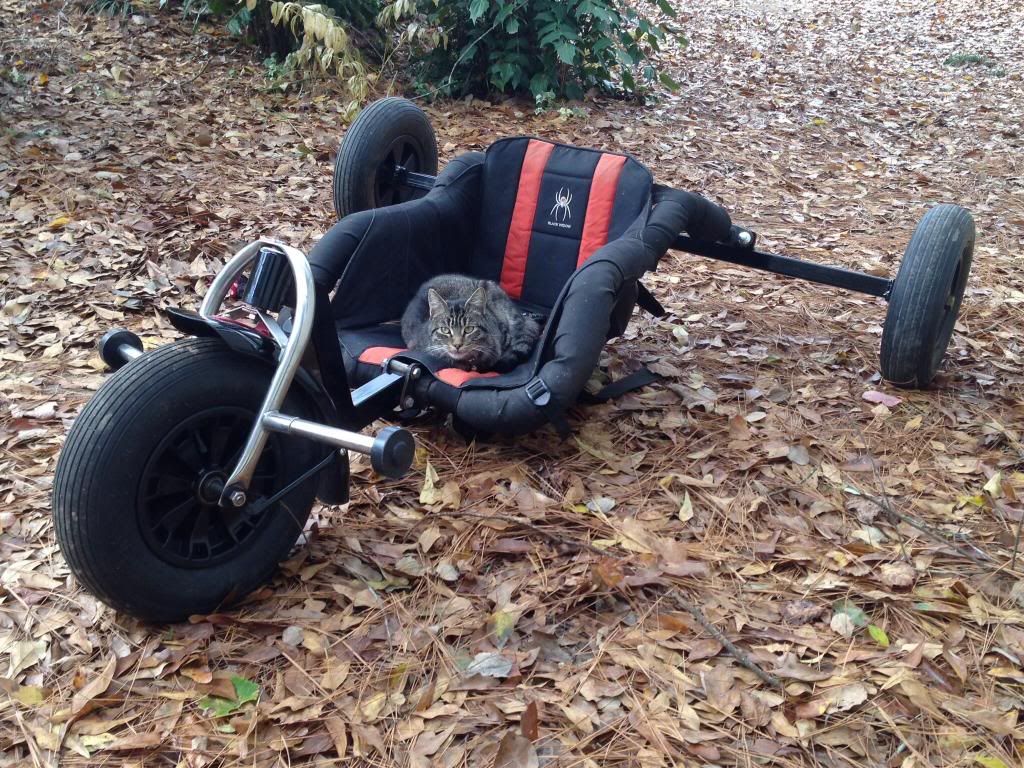
And here's my little buddy Banjo enjoying it as well... What can I say, it's a good place for a nap.
Ok so...
Paint: DONE
Assembly: DONE
Service bearings: DONE
Test drive:... OH RATS!!!... I really hoped to get it out today, the wind was crankin' ... but I just had too much to do and not enough time.
The remodel is complete and as soon as I get to try him out, I'll let you guys know how it goes. Hopefully I'll get to do some vids to.
Thanks for joining me, I hoped you enjoyed it.
greasehopper - 23-11-2013 at 09:21 PM
NICE Stuff !!! Outstanding !!!
popeyethewelder - 24-11-2013 at 02:13 AM
Good job, well done 10/10
3shot - 24-11-2013 at 07:57 AM
Have not checked in here in a few days. Very nice Spencer!!!!
MDK - 24-11-2013 at 08:16 PM
jealous, wish I could do that type of work, nice ride!
soliver - 30-11-2013 at 06:24 PM
I gave it a decent test drive today, putting it through the paces at OOBE field. I was able to get a little bit if on-board video before the camera
battery died. I'll cull through it later and post anything worth seeing. It rode great and only bottomed out when I ran over a huge pile of clipped
grass. I'm pretty pleased with the result, but I could definitely stand to lose about 10-15 lbs as my harness was pretty uncomfortable. Time to start
jogging again 
The wind was kinda lame, but I was able to at least get moving up to 15mph with the 8.6m RII.


 ) and it looks like the bottom of the seat is 4 - 4 1/2" off the ground. SUCCESS!!!


