Originally posted by heliboy50
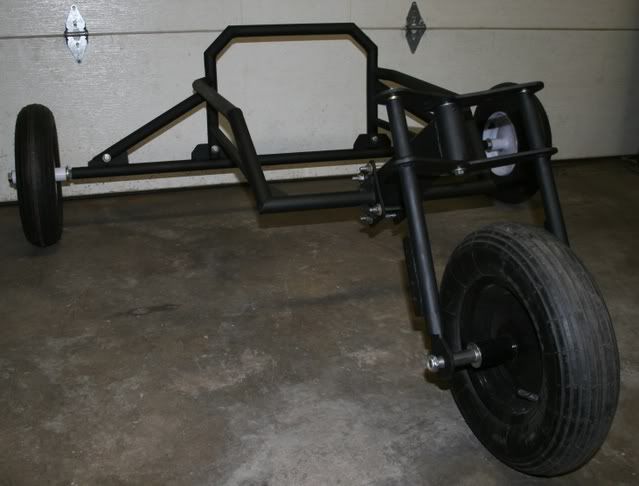
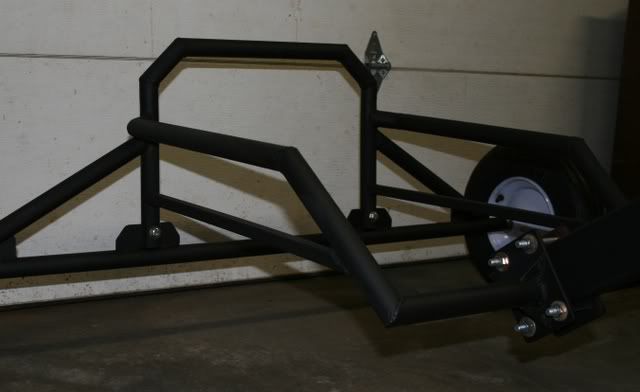
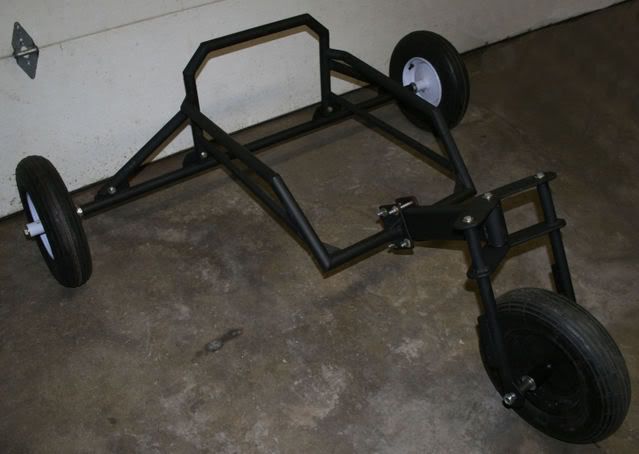
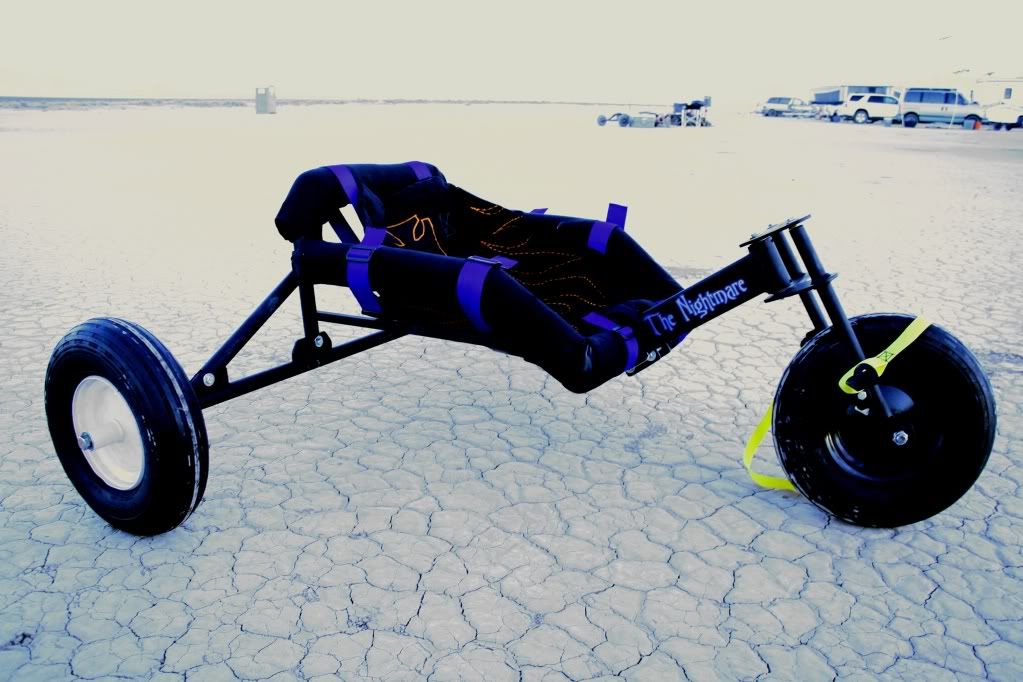
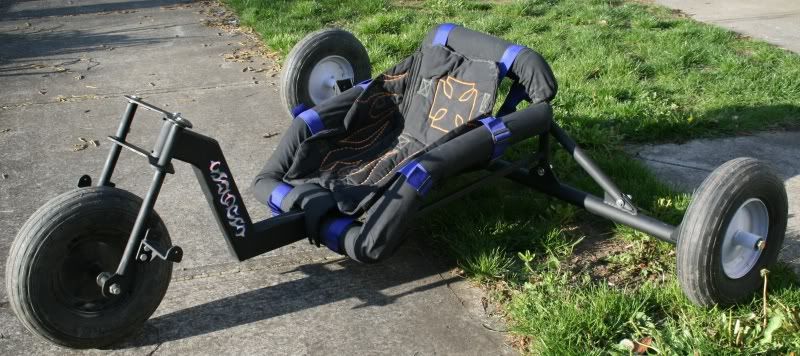
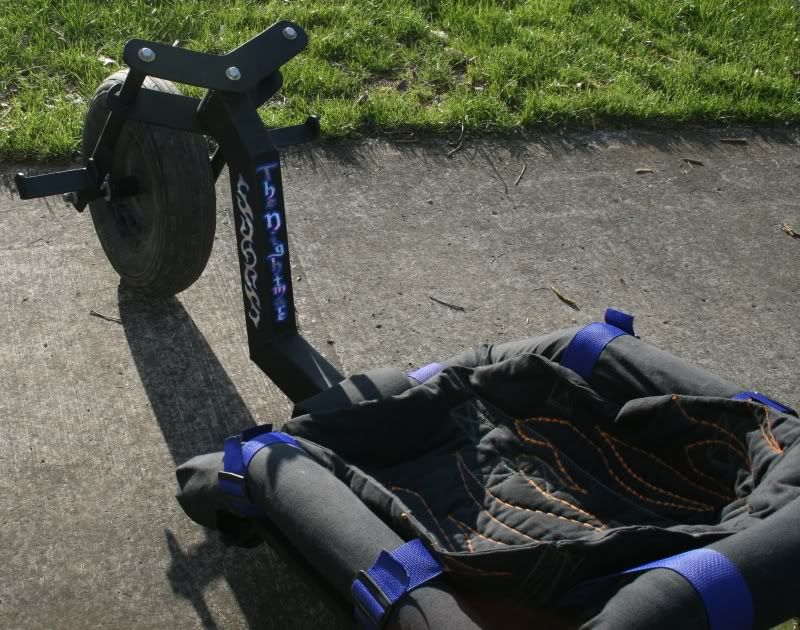
It's kind of funny how hard it was to post pics of it because I was worried of what people would think of it. I'm pretty sure that I suffer from an
obscure genetic defect that precludes me from building anything square on at least the first three tries. |

 )
)


 WG
WG